If you’ve followed this blog over the years, you’re no stranger to apple pies.
I’ve featured crumb ones and Dutch ones and pink ones and puff pastry ones and zucchini ones and award-winning ones. I’ve even done apple butter ones! And don’t forget the apple pie truffles and fudge and cookies and even body scrub! (Sheesh. I seem to be obsessed with apple pie. I honestly had no idea!)
Well, guess what? I’ve got another one for you today. (I had to! We went apple picking last weekend, after all.)
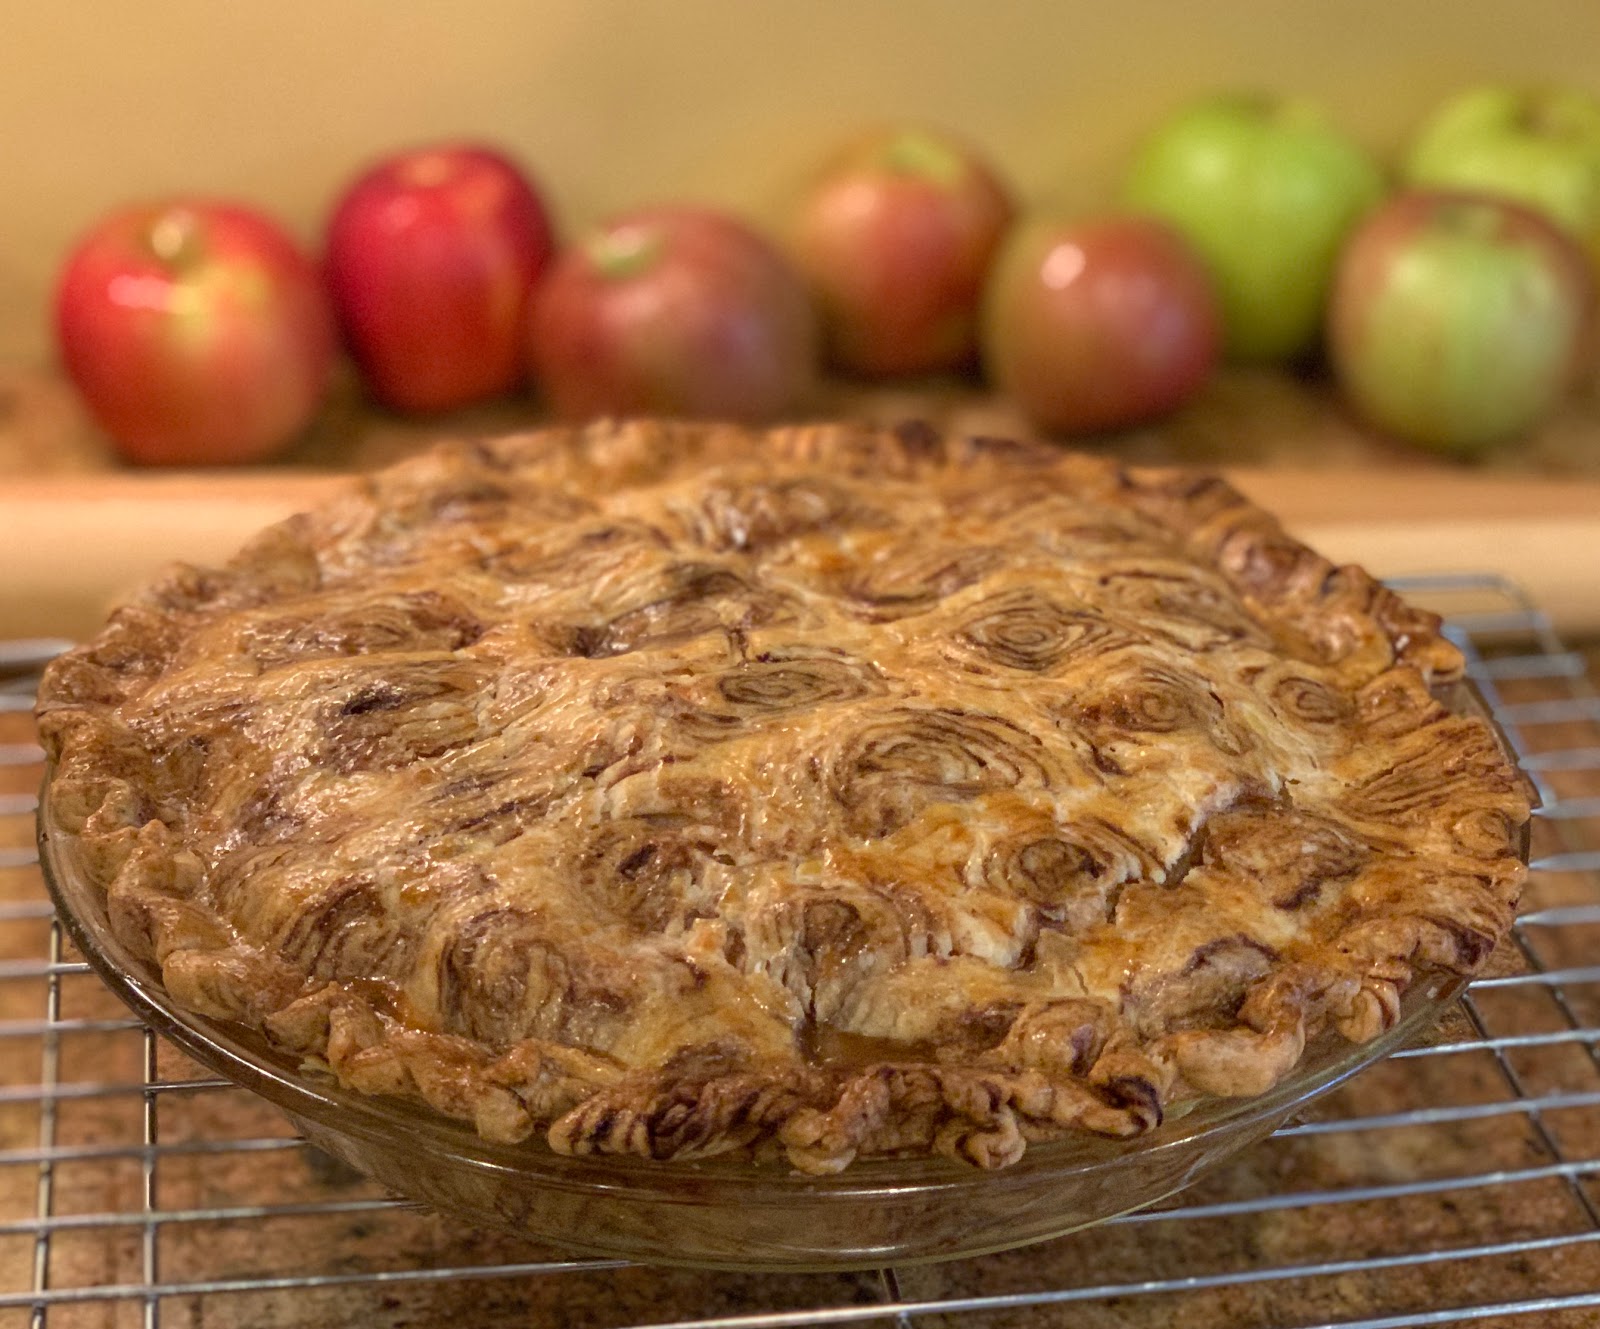
It’s a cinnamon swirl apple pie. I didn’t take new photos of how to deal with the apple filling because I used my classic method of handling apples. You can find all of the ins and outs of the filling process—how to peel, core, slice, and season your apples—in my Award-Winning Apple Pie post.
The magic of today’s pie post is in the crust.
I saw this for the first time sometime last year scrolling through facebook. I think it’s a cookingtv-channel.com recipe. Here’s the link.
I made it last year for Thanksgiving and took some photos along the way thinking I'd share on here at some point. I found those photos recently and couldn't remember exactly how I'd done it (I know I didn’t totally follow the source recipe's directions because they were vague and several of the comments in the comment section weren’t glowing.) So I made it again yesterday so I could take note of the process.
My results were delicious both times (that much I do recall) but some of the stuff I tried this year (to get a bit more dough to work with, for instance) didn't end up improving the look of the pie. I explain those in the steps below.
My results were delicious both times (that much I do recall) but some of the stuff I tried this year (to get a bit more dough to work with, for instance) didn't end up improving the look of the pie. I explain those in the steps below.
Here’s how to do this thang.
Cinnamon Swirl Apple Pie

Ingredients:
For crusts--
2 refrigerated pie crusts
2 Tablespoons butter, melted
4 teaspoons ground cinnamon
For filling--
4-5 medium apples (about 2-2.5 pounds)
1 Tablespoon lemon juice (the fresh stuff, not that abomination in the bottle. If you're allergic, it's okay to leave it out. Otherwise, put it in. You can't actually taste the lemon when cooked, but it brightens up the flavor of the apples, plus cuts back on apple oxidation, aka, turning brown before baking.)
2 Tablespoons all-purpose flour
1/2-3/4 cup white sugar (this amount is dependent on how sweet your apples are and how sweet you like your pies. I always taste my apples as I'm slicing them to determine how much tartness I need to overcome with the sugar.)
1/2 teaspoon cinnamon
1/4 teaspoon pumpkin pie spice
Directions:
1. Preheat the oven to 375 degrees.
3. Turn a 9” pie dish (not deep dish) upside down and trace it onto a piece of parchment paper.
4. Unroll one thawed pie crust on a Silpat mat or piece of parchment.
Optional step: I didn't do it the first time I made this, but I did it yesterday to see if it helped with my roll-up yield. It did give me extra roll-ups to work with. But with the rolling out you do in Step 8, having a few extra didn’t seem to make a huge difference except perhaps in a negative way because my swirls weren't as pronounced in the final product. Ultimately, I wouldn't do it next time.
Use a rolling pin and, working from the center and moving outward, roll out the dough so that it increases in size to about 13” across. (If you can get it in a rectangle, that’s the ideal shape for uniform rolls later, but I didn’t have a rectangle either time I did this and it was still fine with the circles.)
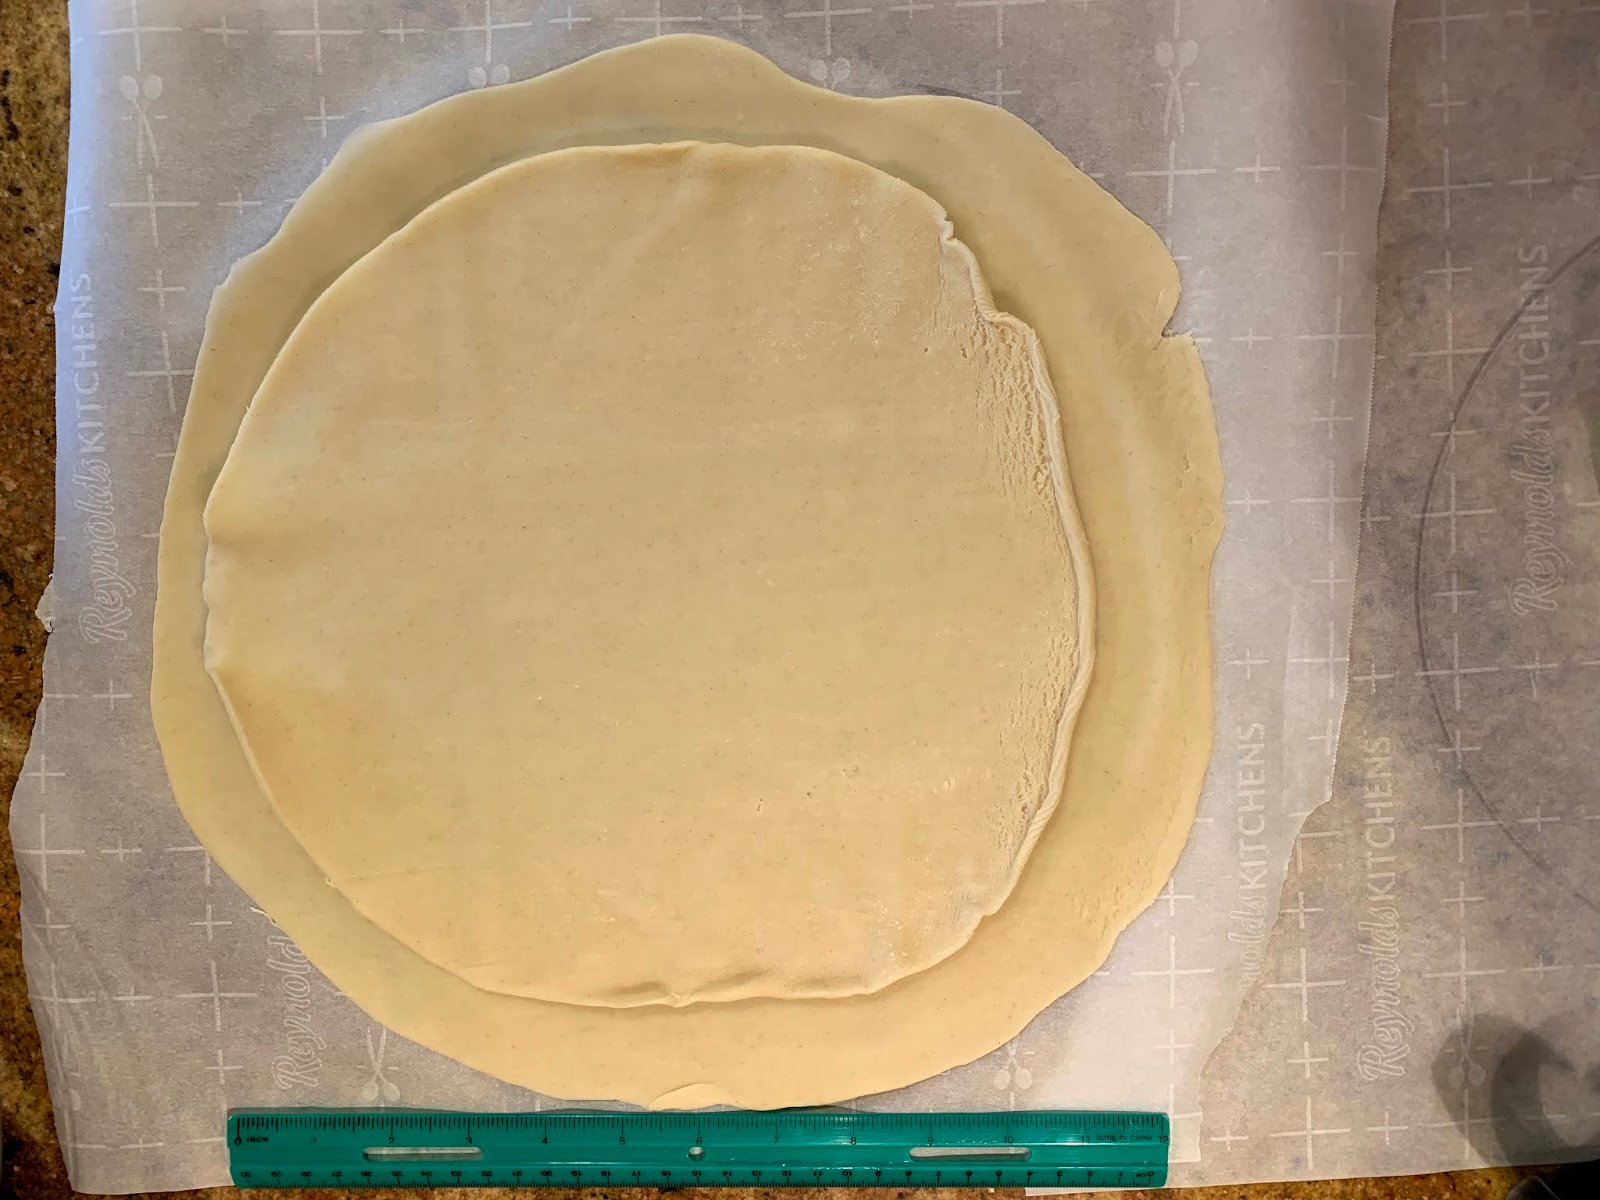 |
| Here you can see the difference in size between the un-rolled crust and what it looks like right out of the box. |
5. Brush with 1 Tablespoon melted butter.

Sprinkle with 2½ teaspoons ground cinnamon (you could also use cinnamon sugar which I did the first time I made this).
 |
| Just cinnamon |
 |
| Cinnamon-sugar |
Roll up tightly.
 |
| Rollin' -- |
 |
| Rollin' -- |
 |
| Rollin' up the pie dough! |
Slice into ¼” rounds. (You can see from some of the photos I did a better job keeping to the ¼” thickness on one crust than another. The other ones are closer to ½” thickness. That impacted my cinnamon roll-up yield. Because of Step 8, this also ended up not being too big a deal. Though there were more of them, the thinner circles just had less room to stretch out when rolled.)


6. Repeat steps 4-5 with second pie crust.
7. Place cinnamon roll rounds on the piece of circle-traced parchment paper, touching, leaving about an inch or two of blank space near the outside of the circle you drew.
 |
| Last year. No rolling out dough first. |
 |
| This year. Rolled out dough. Side 1: 1/2" slices. |
 |
| This year. Rolled out dough. Side 2: 1/4" slices. |
8. Cover with another piece of parchment. Use a rolling pin to roll out the rounds until the dough is round and fills the circle. Remove the top parchment.
 |
| Last year- before rolling |
 |
| Last year - after rolling |
|
| This year - Side 2 before rolling |
 |
| This year - Side 2 after rolling |
(Alternately, the process shown on the inspiration video suggests placing the rounds for the bottom crust directly inside the pie dish and then flattening them out with your fingers.
I didn't do it like that either time, though I did a different riff on it each time. This time, I simply repeated Steps 7-8 twice. Last time, however, I followed a similar process as this time, but I made a smaller bottom section and laid it in the dish, then rolled out individual circles and placed them inside the dish going up the sides. You can sort of tell by looking at the picture of the swirl pattern on pie plate from then. Although I happen to prefer the look of the last pie, that's more because of the distinct swirls and not as much because of how I pieced it together in the pie dish. Since it's the bottom of the pie, it really doesn't matter much from an aesthetic standpoint which you do.)
 |
| Bottoms crust from last year. |
9. Carefully invert the rolled dough over the buttered dish. Remove parchment and gently press in the dish to fully line it. Refrigerate a few minutes until ready to fill.
 |
| Inverted over the pie dish |
 |
| In the pie dish (those overhang edges will get sliced later) |
10. Repeat steps 7-8 with the second set of rollups to form your top crust. Set aside.
11. Remove bottom crust from refrigerator and use a slotted spoon to scoop in the prepared apples. DO NOT simply pour them in or you’ll get a bunch of juice in there that will soggy up your crust.
 |
| Start to fill |
 |
| Nice and full |
 |
| Use a knife to trim the excess bottom crust flush with the dish |
 |
| This is why you DO NOT pour the apples right into the crust. This is at least 1/2 cup of liquid! |
12. Top with second swirl crust.
 |
| This is the crust from last year which looks way better than the one from yesterday. |
13. If you have overhang, fold the top under the lower crust and use your fingers to crimp closed. The first time I made this pie, I had JUST enough crust to cover the apples, so I had to fold and crimp with what little was there. When I did it yesterday, I had more dough to work with so I was able to trim and fold. Both ways worked fine.
 |
| From last year - you can see there's not much crimping action because I had less dough to work with. (But my swirls looked a lot cleaner.) |
 |
| Folding over the top and tucking under the bottom. |
 |
| After all tucking is complete, go back and crimp. Pointer and middle fingers go on the outside, thumb pressing gently in toward them to make the ripple. |
 |
| Outside ripples complete. |
14. Brush with an egg wash, and bake for 50-60 minutes. Crust should be golden brown on top and bottom.
 |
| This looks blurry, but I'm pretty sure that's what it actually looked like. A bit too much rolling took place and it stretched it out which muddied the swirls. So BEWARE over-rolling. |
|
| Last year it looked nicer and was thicker. |
 |
| Look out below! All that cinnamon-swirly goodness! |
15. Cool completely before cutting.
 |
| Last year |
 |
| This year |
 |
Happy Apple Pie!
No comments:
Post a Comment
Please feel free to comment. However, please note that not all comments will be posted, and that it does take time to read through them, so your comments may not be read the day you write them.
Thanks to all for your thoughts.