
Welcome to the final recipe of the party dessert series. So far we’ve traversed the fall flavors of salted caramel with chocolate, pumpkin spice, and carrot cake. Today, we’ll round things out with apple pie. In fudge form.
For years I’ve been making Oreo fudge. I found the beloved recipe in Sally’s Candy Addiction. (Do you own this book yet? If not, buy it! Her recipes are fantastic! Makes a good holiday gift, too.) In fact, it was the fudge recipe I was most excited to try when I first bought my copy.
It did not disappoint.
Every time I make it, people lose their damned minds over it because it really is that good. It’s earned a permanent spot in my Christmas treat boxes, and certain extended family members get it for their birthday, too. Fudge Superfans are real.
The only other candy treat I’ve ever made that enjoyed the same general reception were Oreo truffles. (Which are basically pulverized Oreos mixed with cream cheese, formed into balls, and then dipped in chocolate.) I featured a spooky Halloween eyeball version here in 2016. They were so popular that I made them several more times with other flavor Oreos: mint, peanut butter, and, last year in October, apple pie.
So this year, when I was brainstorming ideas for an apple pie-themed treat, I said to myself, “Self,” I said, “If Apple Pie truffles were a hit, could Apple Pie Oreo Fudge be just as big a hit?”
Well, only one way to find out!
And that, ladies and gents, is how I came to adapt one of my favorite candy recipes into this autumnal-flavored delight.

Ingredients:
2 cups sugar
½ cup (1 stick) butter
1 cup heavy cream
1 bag (12 oz) white chocolate chips (I prefer Hershey brand for this, but Toll House is fine, too)
1 container (7oz) marshmallow fluff
1 teaspoon vanilla extract
¼ teaspoon pumpkin spice extract (it has a cinnamon flavor to it)
1 package (10.7oz) Apple Pie Oreos, crushed (I put mine in a large zipper bag and use my rolling pin to work out my frustrations)
Directions:
1. Line an 11x7 pan with heavy-duty foil, letting some hang over the sides. Set aside. (Heavy duty is a must here. Trust me on this!)
2. In a heavy-bottomed pot over medium heat, melt butter, sugar, and cream together. Stir with a wooden spoon every couple minutes.
 |
| Step one - ingredients combined |
 |
| As it starts melting |
 |
| Here you can see the bubbles starting near the edges. Get that timer ready. |
 |
| 4 minutes on the clock. |
3. When it comes to a boil, start a 4 minute timer and stir it constantly.
 |
| Boiling - be sure to keep stirring |
 |
| The texture starts to change as the bubbles are everywhere |
 |
| Nearing the end of the 4 minutes. Never stop stirring. |
4. At the end of 4 minutes, remove from heat and stir in white chocolate chips. (Pro tip: I like to get them about ¾ melted before adding the next ingredient, because each ingredient brings down the temperature of the sugar mixture a little more, and white chocolate chips have an annoying tendency to want to stay in chip form.)
 |
| The burner has been turned off, but the sugar mixture is HOT. |
 |
| Chips melting. It's thick but use your strength. |
5. Stir in marshmallow fluff. The mixture is very thick at this point so you’re really going to work those arm muscles here.
 |
| With the addition of the marshmallow fluff |
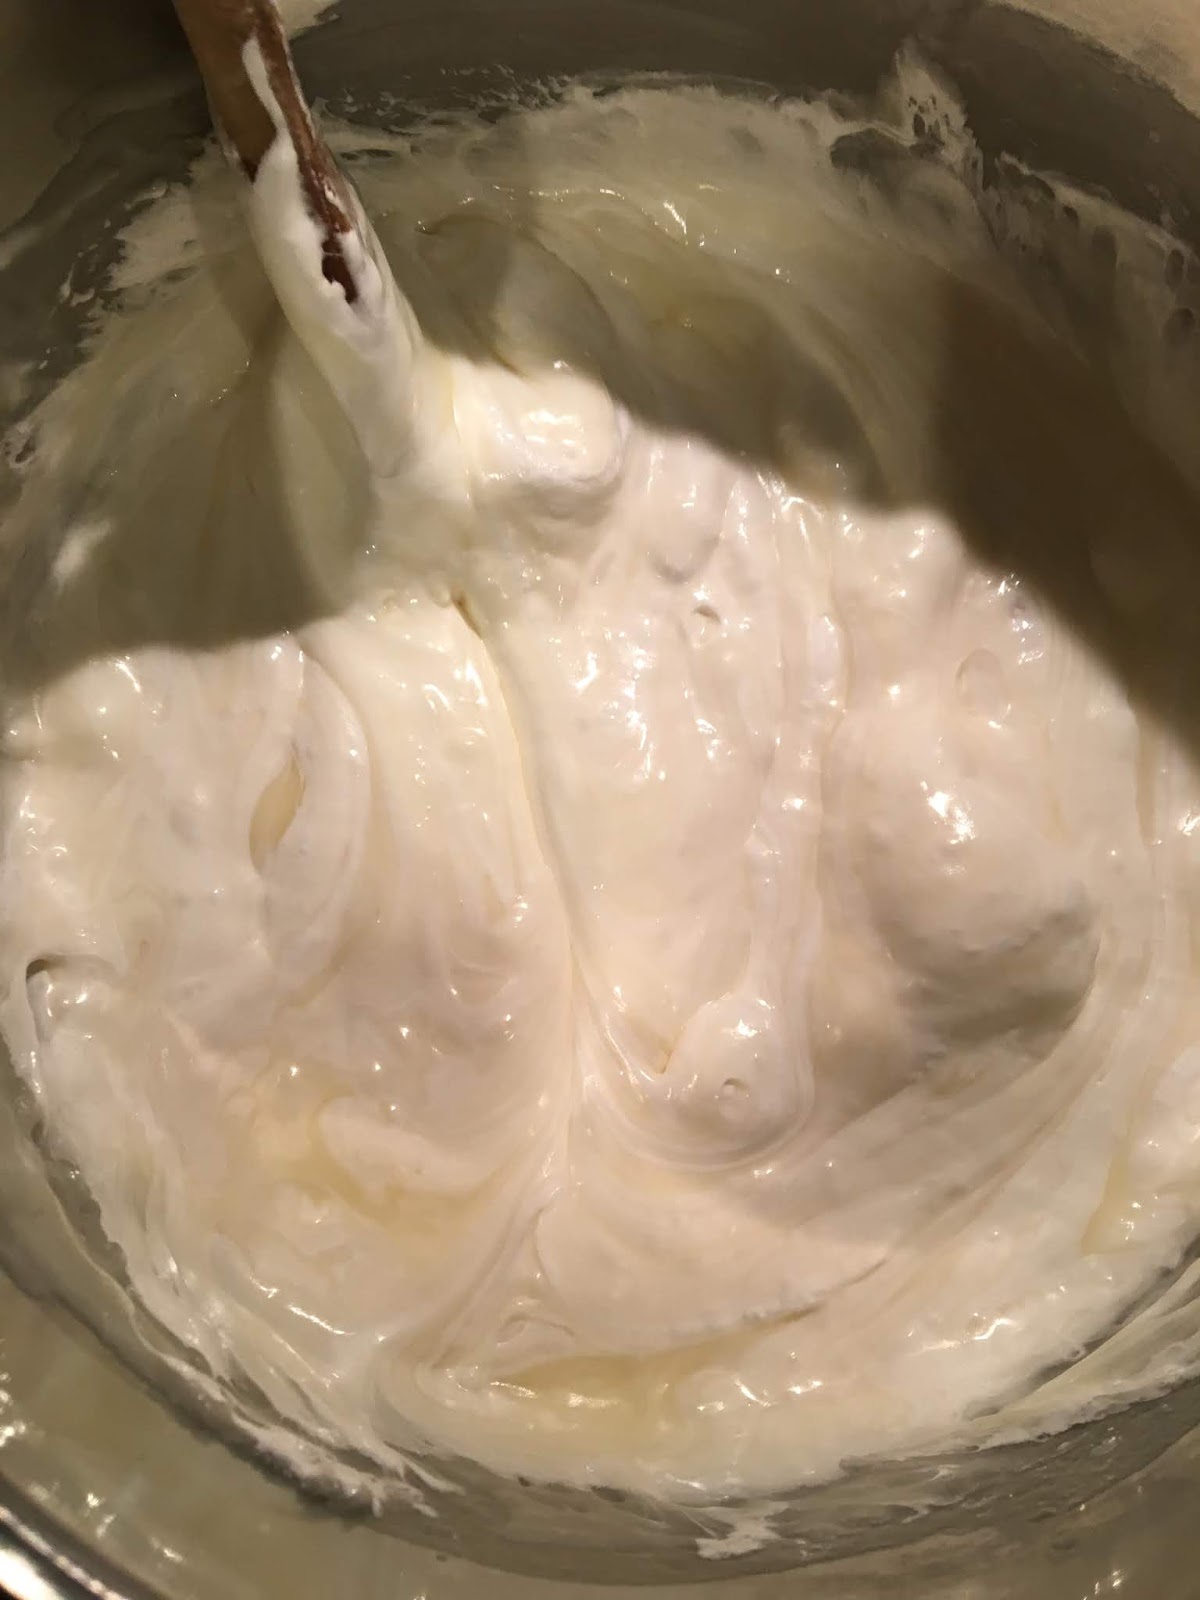 |
| Stir that in there. Work hard to keep it moving so it gets incorporated and melty. |
 |
| Smooth and creamy |
6. When the mixture is smooth, stir in vanilla and pumpkin spice extracts.
7. Stir in ¾ of the crushed Oreos.
 |
| Hopefully you completed this step before you started, but this is what it looks like |
 |
| Pour in crumbs. Notice some are big chunks |
 |
| After stirring |
8. Pour fudge into the prepared pan and top with remaining crushed Oreos. Lightly press them down into the warm fudge.
 |
| Pour into prepared pan |
 |
| Press remaining Oreos onto surface of fudge |
9. Cover and refrigerate 6 hours or overnight before cutting.
To Cut:
Hold the flaps of the foil and lift entire fudge block out of the pan. Place onto a cutting board with the long side facing you. You can gently peel the foil off the entire bottom at this point if you want, but I often don’t bother.

Working first with the long side of the fudge block, use a large knife to cut fudge into eleven (11) one-inch rows.
 |
| You can see I've done 4 rows so far |
Then, rotate your cutting board so the short side is facing you. Cut seven (7) one-inch rows. (Your knife likely won't be long enough to make it all 11 inches at once. So cut a 6-inch segment, then complete the other 5-inch segment from the other side. Just make sure to line up your cut in the other direction so it’s consistent.)
 |
| Fudge grid |
 |
| Check out that delish topping! |
If you didn’t peel it off before, gently peel the fudge off the foil and serve. (When I make a tray, I like to place the fudge squares into mini-muffin liners because they’re easy to grab.)
I find this fudge tastes best at room temperature (because it’s softer), but I usually store my leftovers in the refrigerator so it lasts longer.
 |
| I still need an apple plate, dammit! |

As I suspected, this fudge was a complete hit! It’s creamy and Sweet-with-a-capital-S, and easy to share or pack in lunch or even grab a bite or two (or five) from the fridge.
Try it, and don’t be surprised if you become the newest Fudge Superfan.
**I have no affiliation or relationship with any of the brands mentioned or linked in this post. All opinions and experiences expressed herein are my own.**
No comments:
Post a Comment
Please feel free to comment. However, please note that not all comments will be posted, and that it does take time to read through them, so your comments may not be read the day you write them.
Thanks to all for your thoughts.