
Holla! It's National Pumpkin Pie Day! So I bet you know what
recipe I'm sharing today.
What? Pumpkin pie? NO. Don't you read my blog? You know
pumpkin is not my #1. It's closer to, like, #8, and that's only as a pie and with Nutella swirled in. (After pecan,
apple, coconut cream, blueberry, chocolate cream, a quality lemon chiffon, and peach,
if you were wondering.) As an overall flavor? Well, we've been through this.
Unless, of course, it's on this Chex mix. In which case, mmm.
Anyway, no. Not pumpkin.
The correct answer is...APPLE CRUMB.
Which, I've discovered, I like even better than classic
apple pie. Know why? Because "crumb" rhymes with "yum."
Again, HOLLA!
I'm in a good mood today because it's finally seasonably cool
outside (though it's also raining which is not great for food photos--sorry for that!) and because I'm finally getting around to making all these
apple pies I've wanted to make for days now. Aaaaand because I may or may not have
figured out a way to eat pie as breakfast.
 |
| 1/4 cup plain quick oats made with 2/3 cup Unsweetened Vanilla Coconut-Almond Breeze. Plunk a slice of pie on top and you've got apple pie oatmeal! GENIUS. |
Typically, when I bake apple pies--well, really, any pies-- I bake one or two and they
either stay at my house or travel with me to a location where I will be able to
take the empty pie dish back home with me. (i.e. my mom's, my in-laws', or an
event I'm attending.)
That can be limiting, though, since there's a whole lot of
other people and places in the world with whom you might like to share some pie
goodness.
I thought, "Oh, I know! I'll just buy some of those
disposable aluminum pie pans and then give those away!" Easy, right?
Not so fast.
I had a hunch that baking in those would require
some tweaks to the process. So I took to Google to check on my theory. Turns
out, I was correct.
Most baking sites strongly urge against using those tins at
all. Why? It has to do with heat distribution. Basically, the crust doesn't
cook through. Nothing like raw pie dough to ruin your fun, amiright? Still, I
found a couple sites that said that if one absolutely must use an aluminum tin,
one should place it on a cookie sheet that has been preheating in the oven AND
bake the pie for 10 minutes longer than the suggested cook time. Somewhere else,
I read that placing the aluminum tin into
a glass dish during baking will distribute the heat as though the crust were
directly in the dish itself, but can be removed after baking.
The thing is, I saw these two isolated tips without much
corroboration, so I was nervous to take them as gospel. Because if these were THE
WAY to do this, wouldn't they be all over the place? Therefore, I decided to crowd
source the question on a Facebook baking group to which I belong. There's over
3000 members and only two people answered my question: one to advise me to go
to Goodwill to purchase inexpensive pie dishes (i.e. don't use the tins!) and
the other who said she places hers on a pizza stone or places it inside a
preheated cast iron pan.
I realized I'd need to do a test run to figure this out--not
just for myself, but for gift-giving bakers everywhere.
I combined both methods I'd read about and modified my
cooking temperatures (hotter oven at the beginning, then bump it back for the
bulk of the cooking) as per something I saw on Sally's Baking Addiction's Apple Crumble pie post and came up with something that worked very well.
As for the pie recipe itself, I mostly used my own classic My Award-Winning Apple Pie recipe, but instead of using a top crust, I made the crumb (for which
I used Sally's crumb recipe).
I made one "test" pie last night before bed, and I
just made two more which I must retrieve from the oven after I finish this
sentence. BRB.
I'm back. And omigod, those pies are bubbly and smell like absolute heaven!
Now, where was I?
Oh right. The recipe.
First, I highly recommend visiting my old My Award-Winning Apple Pie post for tips on things like peeling, coring, slicing, crimping,
covering the edge with foil, and the like. I address them all in there!
Now to the apple crumb.
Apple Crumb Pie -
for use in disposable aluminum tins (for gift giving!)
Yield: 1 pie
Ingredients:
for pie
4-5 medium
apples (about 2-2.5 pounds; I used a
combination of winesap and jonagolds because that's what we picked this year at
the orchard)
1 Tablespoon
lemon juice (the
fresh stuff, not that abomination in the bottle. If you're allergic, it's okay
to leave it out. Otherwise, put it in. You can't actually taste the lemon when
cooked, but it brightens up the flavor of the apples, plus cuts back on apple oxidation, aka, turning brown before
baking.)
2 Tablespoons
all-purpose flour
1/2-3/4 cup
white sugar
(this amount is dependent on how sweet your apples are and how sweet you
like your pies. I always taste my apples as I'm slicing them to determine how
much tartness I need to overcome with the sugar.)
1/2 teaspoon
cinnamon
1/4 teaspoon
cardamom (I
don't typically use this in my apple pies, but I love cardamom and decided to
add it this time. If you don't have or don't prefer cardamom, you can use the
same amount of pumpkin pie spice, which is what I typically use)
1 pie crust, single-crust (you can make your own or use a ready-made. I've made my own a few times
and they're definitely a treat. Here's a solid recipe if you want to tackle that.
However, I typically use Pillsbury's refrigerated kind simply because they're
tasty and convenient. The choice is yours. If you use the bought stuff, you'll
only need one of the two crusts in the box.)
for crumb topping
1/3 cup unsalted butter, melted &
slightly cooled
1/4 cup brown sugar (I used dark brown
on 2 of my pies and light brown on the 3rd. It's up to you which you use. Dark
brown has more molasses in it.)
3/4 cup all-purpose flour
1 teaspoon cinnamon
Directions:
1. Preheat
oven to 400 degrees. Unroll pie crust and line aluminum pie pan with it. Fold
inward any crust that is hanging over the edges (so you'll have a thin top section
of double crust). Crimp the edge and set aside.

2. Peel,
core, and slice your apples nice and thin. The secret to my apple pies is
thinly-sliced apples. Place into large bowl.
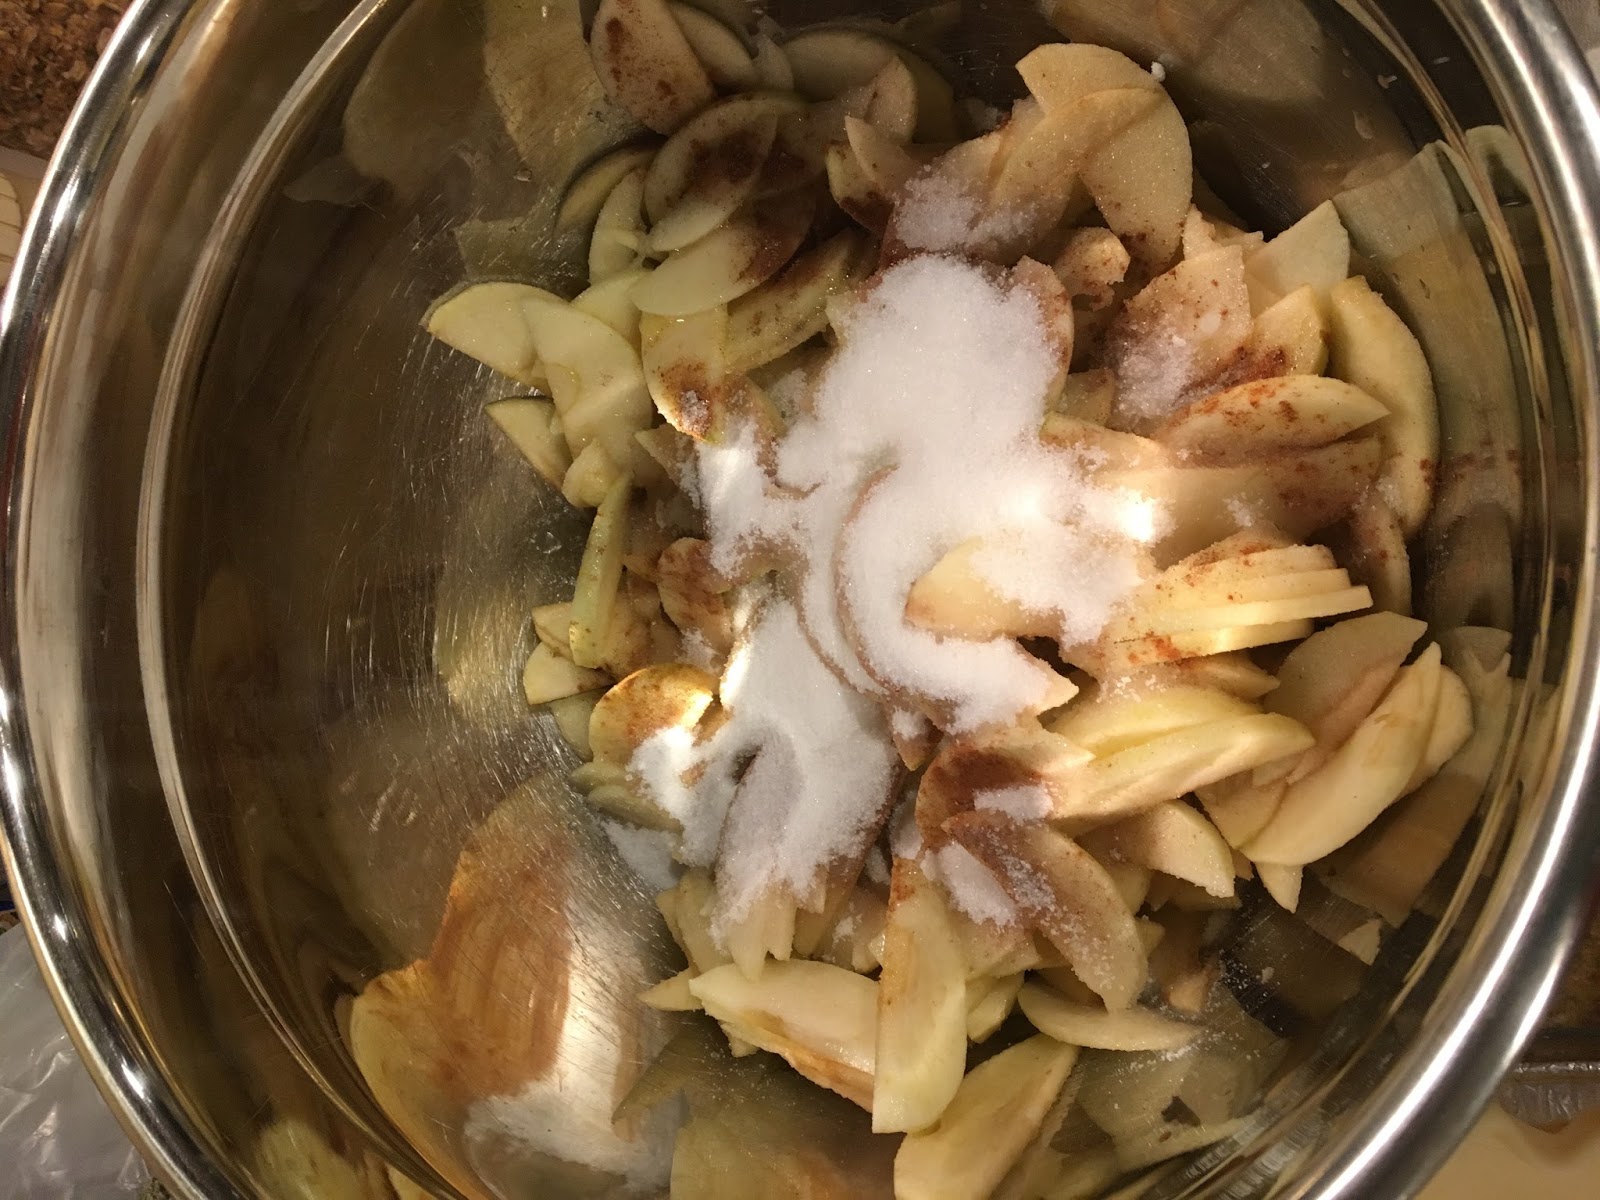
3. Add lemon
juice, flour, sugar, cinnamon, and cardamom (or pumpkin pie spice) to sliced
apples and toss to coat. Set aside while you make your crumb topping.

4. Combine
brown sugar, flour, and cinnamon in a medium bowl. Use your fingers to combine
them, making sure to break up any chunks of brown sugar. Pour melted butter
into dry mixture and use a spatula to combine it. It'll look somewhere between
pasty and crumbly. Set aside.

5. Add the
apple filling to your prepared pie crust. DO NOT POUR IT IN. Use your hand or a
slotted spoon to scoop it in there. (You don't want excess juice going in with
the apples or the bottom will get soggy.)

6. Use your
fingers to crumble the crumb topping all over the top of your apples. It may
seem like a too much crumb topping but it's not. It's the perfect amount.
Remember: CRUMB rhymes with YUM. (Be careful as you spread it on top not to
waste any. Crumb topping should be on the pie-- not the pan, the counter, or
left inside the bowl. Because if it's any of those places, it isn't going to
make it to your stomach, and that's just a travesty of pie.)
7. Place pie
dish on cookie tin. (This step is important because it is both to catch any
potential bubbly over-spill AND to help the heat do its thing to the bottom of
the pie plate.)
 |
| Ready to bake. On cookie sheet. |
8. Bake for
20 minutes at 400 degrees. Then, leaving the pie in the oven and not opening
the oven door, turn the heat down to 375 degrees and bake for 20 more minutes.
Then cover the edge of the pie with foil and return to the oven for 15 minutes.
Then cover the whole top with foil
and bake 10 more minutes. Finally, remove all covering and bake for 5 more
minutes. (So, yes, that's 70 minutes bake time total.)
9. Remove to
a wire rack to cool completely (still in the glass dish "liner.")

10. Once cooled,
remove aluminum tin from glass dish. Share and share alike!
 |
| Beautiful golden crust and lightly browned crumb topping |
 | ||
| The inside when it's cooled down. Beautiful stacked layers of apples in both, however. MMM. |


(Additional note: You can see in the photo above that the pie on the right was made directly in a glass baking dish. That one is going to my mom. I baked
it in my 9.5 inch baking dish and followed the same baking times as I list in my directions
and the crust looks like it held up pretty well (except for those bubbly spots toward the top and left where the filling bubbled up. Those areas look like they maybe could've been removed prior to the 10 extra minutes bake time I
tacked on for the aluminum tin. So, for what it's worth, if you are not cooking in the aluminum tin, follow the directions as listed, but take it out at the 60 minute mark.)
Whatever you do, don't forget
to gift one to yourself. You deserve it. Because remember: CRUMB rhymes with YUM.
No comments:
Post a Comment
Please feel free to comment. However, please note that not all comments will be posted, and that it does take time to read through them, so your comments may not be read the day you write them.
Thanks to all for your thoughts.