
Sometimes I see a recipe and my brain screams “YES!” Around this time of year, sometimes I see a recipe and my brain screams “THIS MUST BE PART OF OCTOBER BLOGGING!”
Both happened when I saw these pumpkin pie biscotti on Gimme Some Oven’s blog.
In the past few years, I’ve discovered I have a particular love of biscotti. I started making them as one of my offerings at Christmas and they’re one of my favorite varieties to snag for myself. Turns out there’s about a million flavor options for biscotti, too. Including this pumpkin pie one. So when I saw it, I knew I’d found “the one.”
But that was like opening Mary Poppins’ carpet bag. Or, like, a bottomless can of freaking pumpkin puree!
Not only did I make these biscotti, I also made breakfast and several dessert drinks and still had some left over.
Which means: prepare thyself for pumpkin.
Starting with these delightful biscotti.
Pumpkin Pie Biscotti
Ingredients:
3 1/2 cups (420g) all-purpose flour
1 1/2 cups firmly packed brown sugar
2 teaspoons baking powder
1/2 teaspoon salt
2 teaspoons pumpkin pie spice
1/2 cup pumpkin puree
2 eggs, lightly beaten
1 Tablespoon vanilla extract
2 Tablespoons butter
1 1/4 cup pecans or walnuts, coarsely chopped (I used a combination of both!)
(optional) 6 oz white chocolate, melted (for drizzling or dipping)
Directions:
Preheat your oven to 350 degrees.
Melt butter in a large skillet over medium heat then add chopped nuts. Cook, stirring constantly to avoid burning, until nuts are browned. Remove from heat and set aside to cool completely.

 |
| These smelled so delicious |
Stir together flour, brown sugar, baking powder, salt, and pumpkin pie spice in a large bowl.

In another bowl, combine pumpkin puree, eggs, and vanilla. Whisk until smooth.

Add wet ingredients to the dry ingredients and stir until dry ingredients are moistened. (As the original recipe notes, the mixture starts off very crumbly, but does gradually moisten after stirring.)


Knead or gently stir cooled nuts into dough. (I started off trying to stir but the dough didn’t really come together until I kneaded it.)


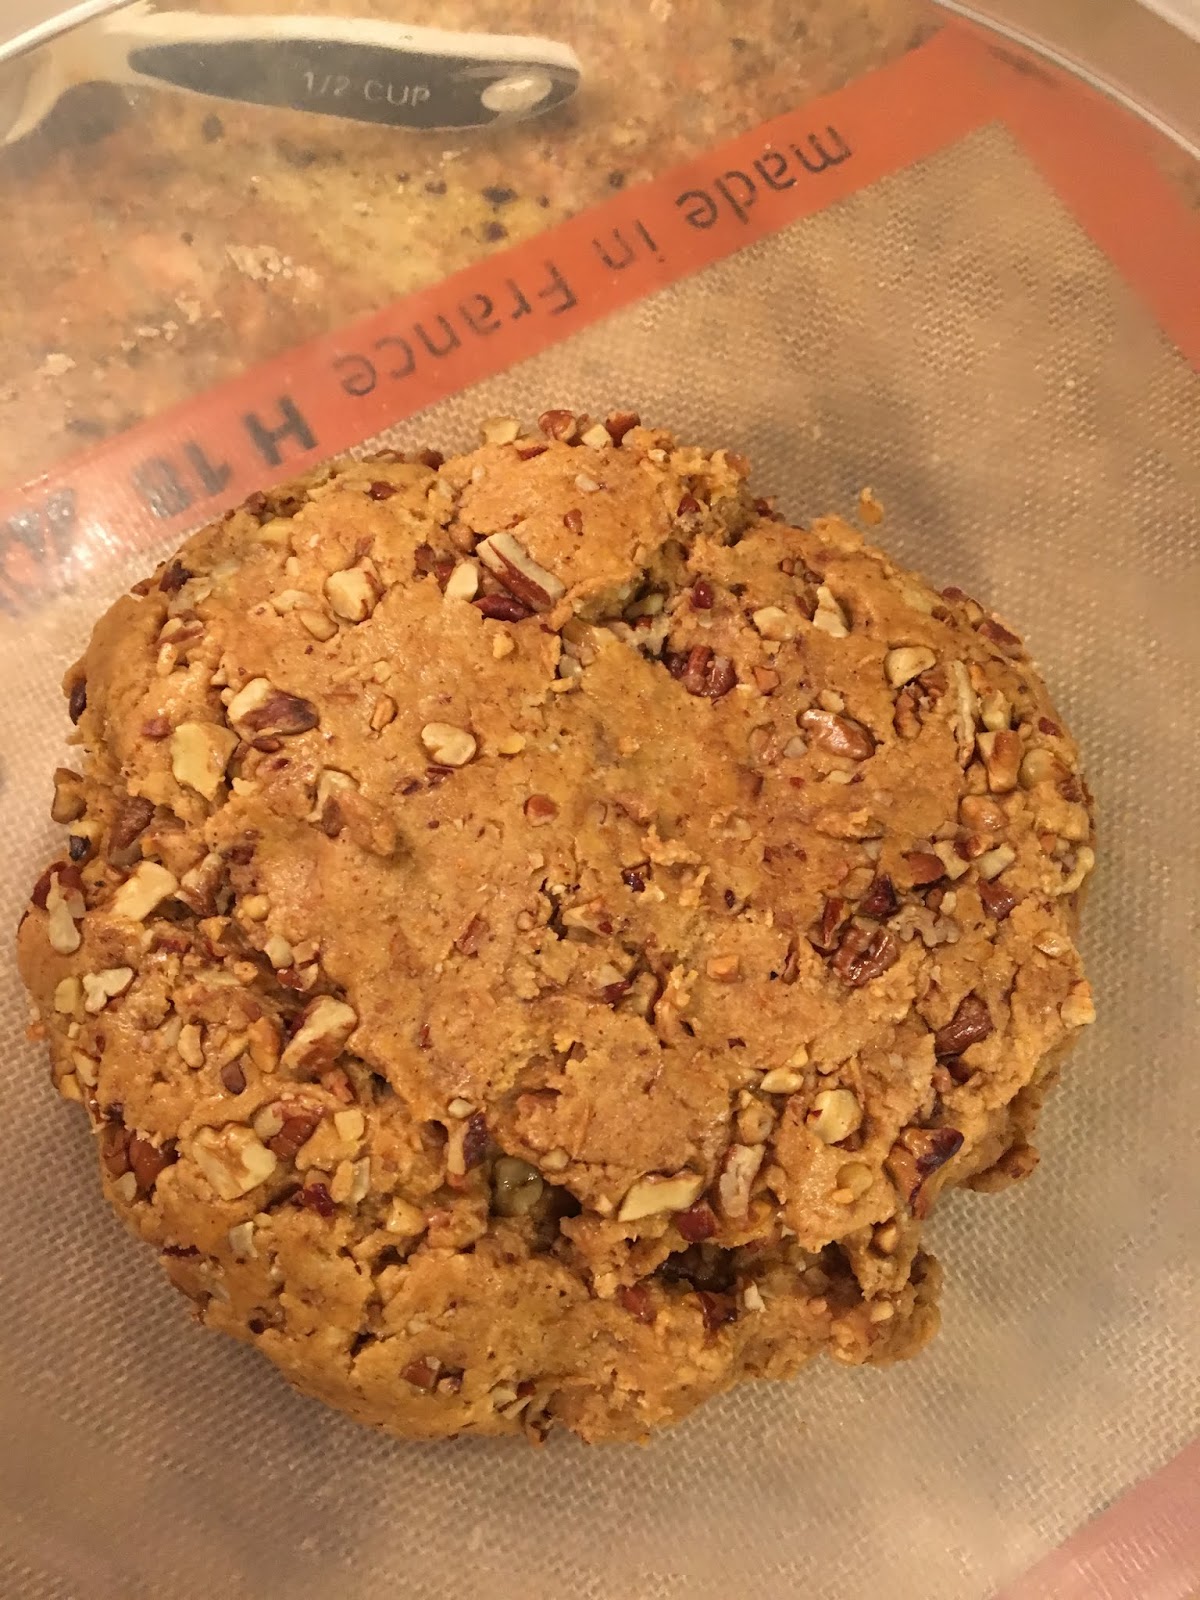
Once dough comes together, turn it out onto a lightly floured surface and divide in half.
Lightly flour hands and shape each half into rectangles (aim for about 3" x 12-ish" each). Place logs on a Silpat-lined cookie sheet a couple inches apart.

 |
| About 1-inch thick |

Bake for 24 minutes.
Cool logs 15 minutes, and reduce oven temperature to 300 F.
 |
| After the first bake and cool, prior to slicing |
Carefully move each log to a cutting board and use a large serrated knife to cut into 1" inch wide slices. (Don’t skip the serrate edge here because the exterior will have formed a harder crust and you need the serrated edge to get through the cookie without damaging it--don't worry if there are some crumbs.) The interior will be softer.

Place the biscotti cut side up on your pan and bake 8 minutes. Remove the pan, flip all the biscotti over so the opposite cut side is face up. Bake 7 minutes.

Carefully remove all slices to a wire rack to cool. (The original post makes a point to mention that the biscotti shouldn’t touch one another as they cool because without air flowing all around them, the cookies can become soft/soggy.)
Cool completely and enjoy. OR, if you want to add extra calories, er, flavor, melt your white chocolate and use the back of a spoon to spread it along the bottom of your cookie. Alternately, you could drizzle it on top using a fork or dip one end into the chocolate. It’s up to you how—or if—you want the chocolate on there. I like it along the bottom edge because that way I get chocolate in each bite.


To melt the chocolate: place in microwave safe bowl and heat at 50% power in 30 second increments up to 90 seconds, stirring after each heating period. Pay attention to it because white chocolate burns easily. I was not paying attention and I had an incident. OOF. I salvaged it because it had only scorched in one small area but I was lucky. It could easily have been a total loss.
Allow to set before storing in an airtight container. (Or a lovely dome stand on your sideboard where the sight of them can taunt your cat!) Enjoy!

Now, close your mouth, please, Michael, we are not a codfish!
**I have no affiliation or relationship with any of the brands mentioned or linked in this post. All opinions and experiences expressed herein are my own.**
**I have no affiliation or relationship with any of the brands mentioned or linked in this post. All opinions and experiences expressed herein are my own.**
No comments:
Post a Comment
Please feel free to comment. However, please note that not all comments will be posted, and that it does take time to read through them, so your comments may not be read the day you write them.
Thanks to all for your thoughts.